
L.C. Tiffany - history
Louis Comfort Tiffany was a son of world famous jewelry retailer, Charles Lewis Tiffany. He was amazed by glass as a material which can create unique products. Firstly he made mosaic compositions and glass vases. He was an artist and an inventor also – he was the first who made favrile glass.
Tiffany was a member of Crafts and Arts move. He was against painting the glass – he rather used yet colored panes of multicoloured glass. Stained glass was firstly made with lead, which gave a lot of restrictions in size and composition of craftsman work.
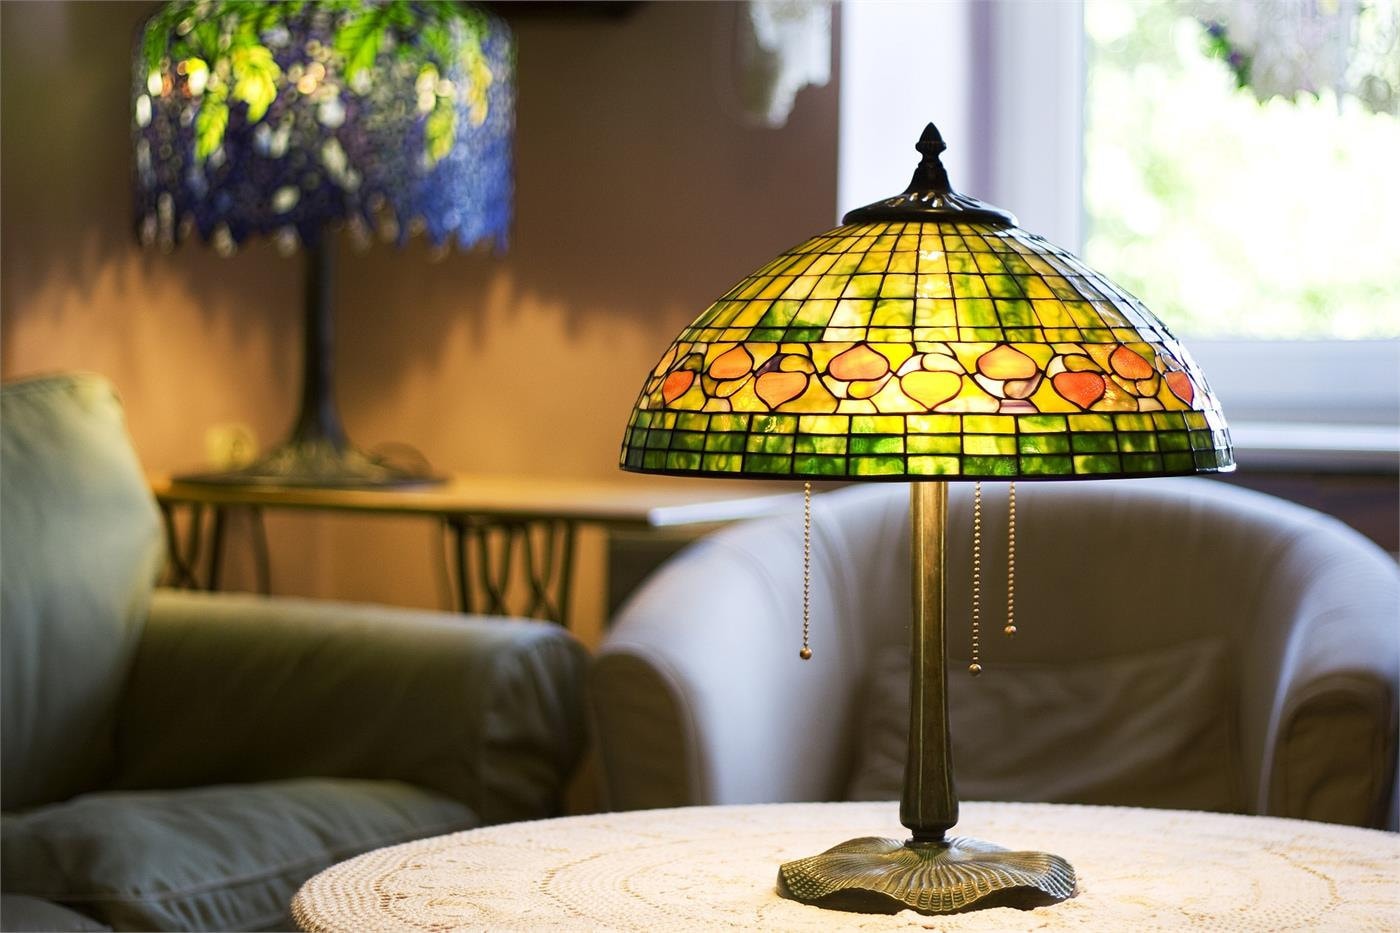
He started to made lamps with copper foil method, which we use today. It is a lot easier and gives more freedom to an artist – from the shape, through piece sizes to colour matching. Tiffany lamps are essentials of Art Nouveau epoca. Mostly they are covered with flowers like Tulips, Magnolia, Wisteria. Sometimes lamp looks like a tree due to it’s lampbase shape.
Lampshades are composition of glass pieces in amount from few hundred to few thousands. Every of that piece must be enlaced in copper foil to make it possible to solder pieces together.
What is needed to make a lamp?
Nowadays lamps are made the same way, with copper foil method. The best replicas are made on Odyssey System® tools.
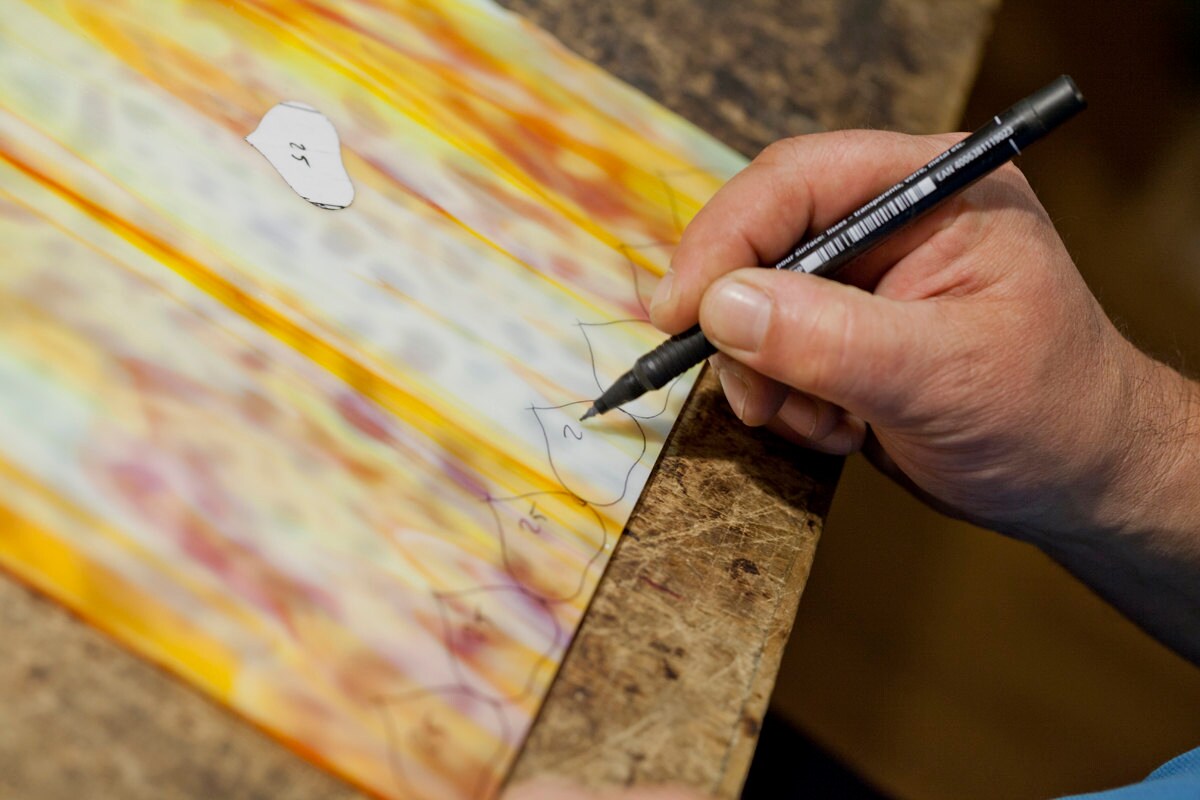
This includes mold – where the lampshade is created in it’s final shape, pattern – which shows how pieces are located to eachother. The last piece is a Mylar which is laminated pattern. It should be cutted into pieces as showed on the map. Mylar pieces are putted on glass pane and are very helpful in drawing on glass. It’s just template of single glass piece.

Apart from that, there are few more tools to make a lamp. Diamond knife to cut the glass is very important. It should be always covered with special oil to make cutting safe and predictable. Also different types of pliers to break the glass in places where it was actually cutted by diamond knife.
Copper foil is available in few sizes and two colors – black and copper. It is covered in glue in the bottom to make foiling easy process. Original Tiffany lamp makers had to cut thin sheet of copper into stripes and there was no glue on it.
What is Tiffany lamp made of?
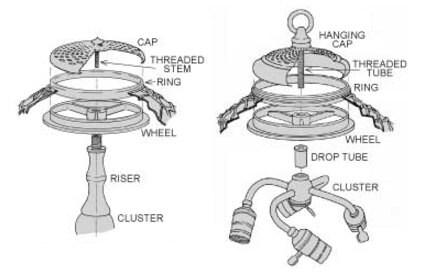
There are a lot brassware to mount lamp on the ceiling or put on a lampbase. Sometimes lamps are made simplier (then it’s small shade or quite light) – then the cap is solered to the ring without possibility to spin it. This nomenclature map make talking about lamps a lot easier for buyers and makers.
How lampshade is made?
The very first step of making any lamp is choosing the model of lamp. There are dozens of available patterns. Bigger shades like Border Peony or Laburnum are harder to make because of pieces amount. Shade like this can take few weeks to proceed.
When model is already known, it’s time to take the mold and mount it into the lamp stand, to make your work safe.
Next step is called Waxing. It is covering the mold with wax – which works like a glue. Thanks to using that mixtire pieces of foiled glass are holded in one place and your lamp will turn out very well. It’s a guarantee of comfortable soldering and aesthetic look of lampshade. The excess of tacky wax should be removed. There sould be only light film left.
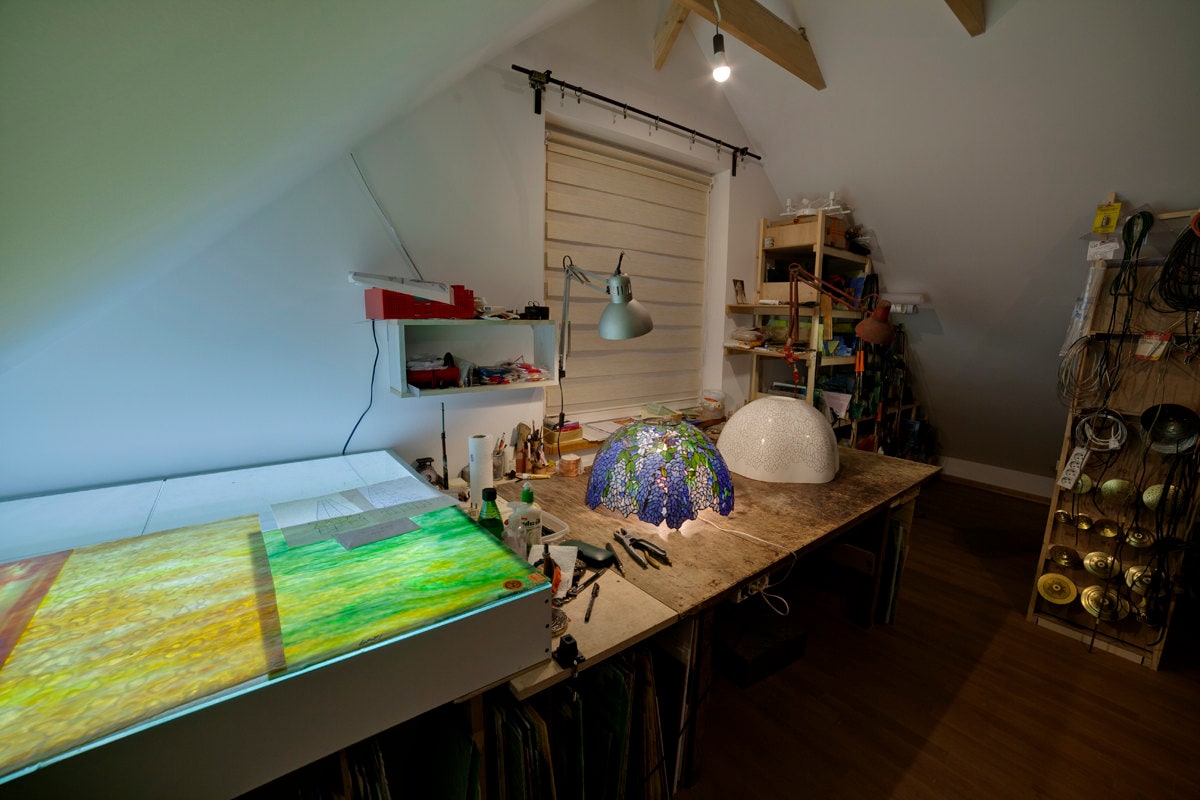
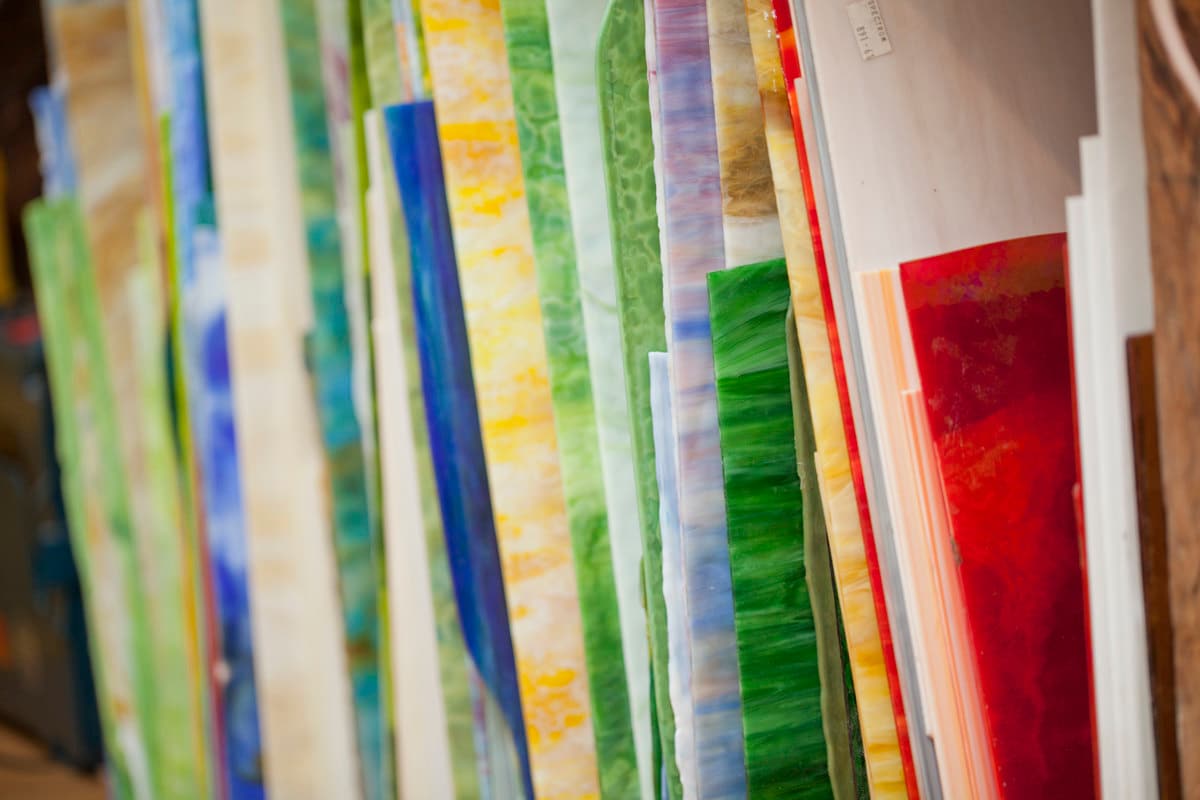
The most important thing about every lamp shade is choice of glass. Using glass from good manufactures like Uroboros and Youghiogheny is the key to succes and good-looking lamp. In other cases, the lamp will look cheap and won’t be consistent in color. There are few types of glass. Some are smooth, the other are called drapery glass and gives very interesting effect in touch. Glass should be chosen and checked on light table – some glass panes look totally different when they are lighted on and off. Of course it makes lamp far more interesting but the final effect should be predictable.
Choosen glass need to be cutted into pieces and foiled. Then it need to be applied on mold, which is covered in grout. Simple as that, isn’t it? There are also few other things needed on shade like ring on the top of the shade and the rim on the bottom.
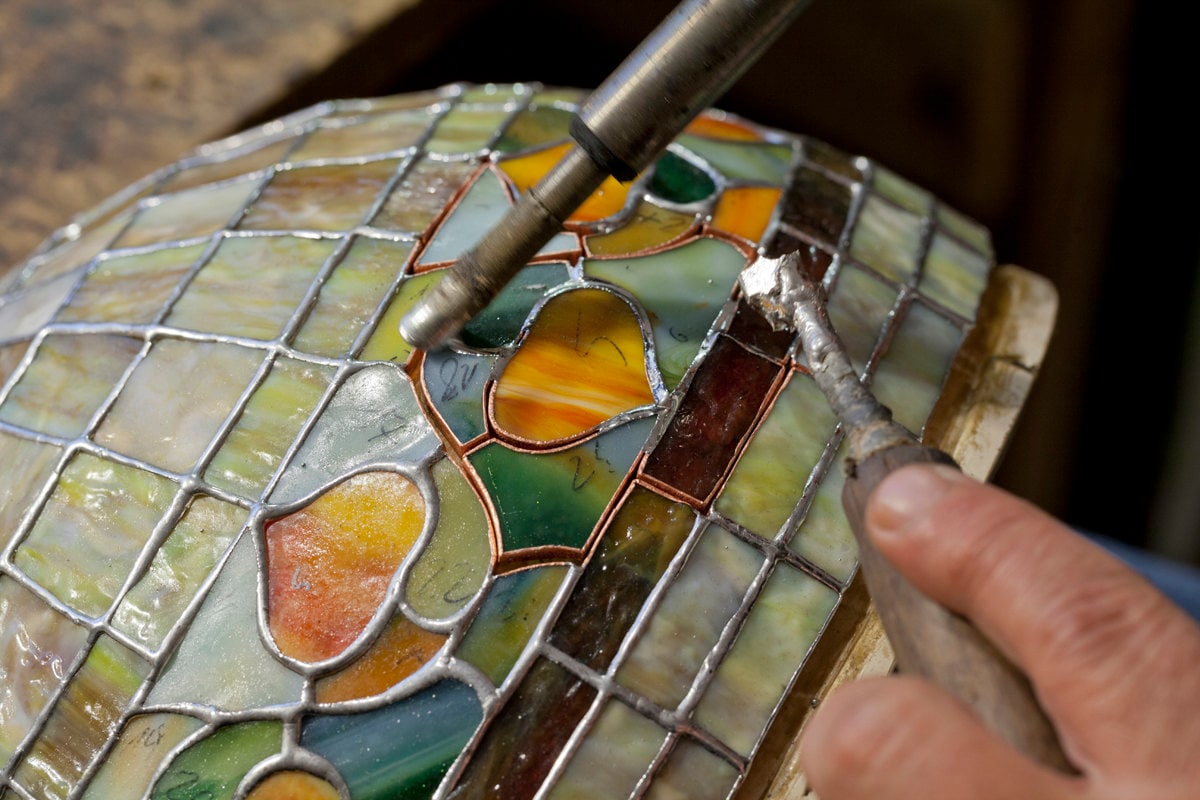
When it comes to soldering, there are few important things to do before grabbing an soldering iron. Begin with brushing foiled areas with paste flux. Using more than less will give good effects on solders quality. Look for large gaps between pieces – it is the last moment to improve the pieces location. It may affect on shade surface regularity. Geometric lines should be paralel and equal lenghted. Remember about safety and keep area ventilated.
After soldering is finished, shade need to be cleaned from all the materials used while making it. The last step is applying patina. This is compound which react with tin and can colour it on variable tones, from black, through brown, copper, to even blue color. It will affect on lamp look and it makes it look like final shade. The last step is waxing the lamp to make it shiny and ready to put on the lampbase.
